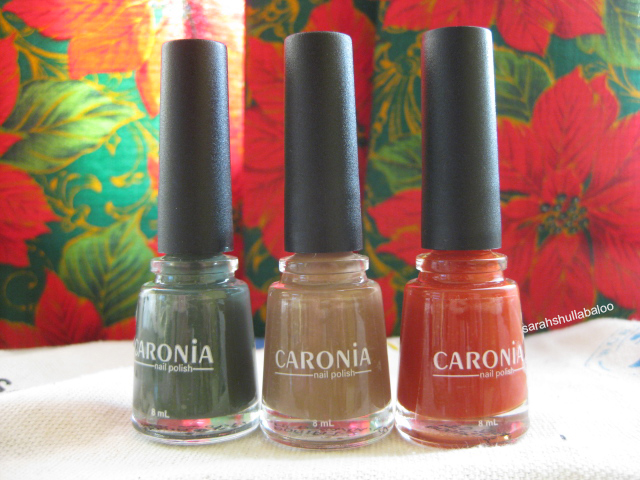
Caronia: Miss Mystic Collection

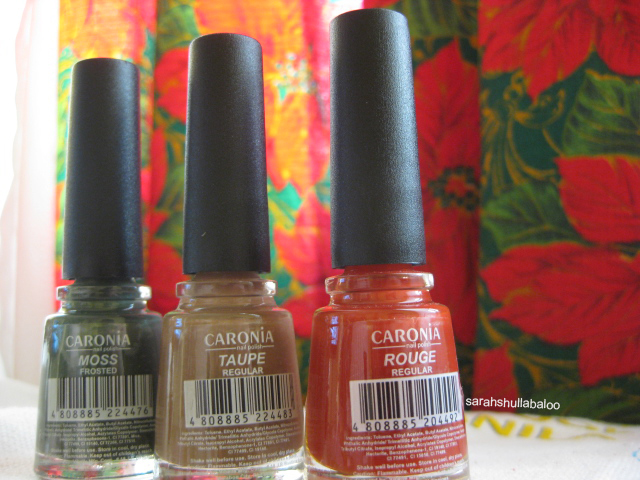
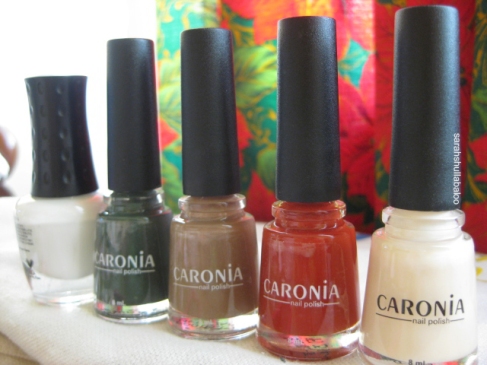
Merry Merry Christmas to everyone! Gifts here and there! Speaking of gifts… The people of Caronia Philippines were too generous and gave me samples of their new holiday collection. The collection was released last September 2012, which features 3 mystifying shades that work well with any outfit. Perfect for the Christmas season!

Caronia Miss Mystic Collection

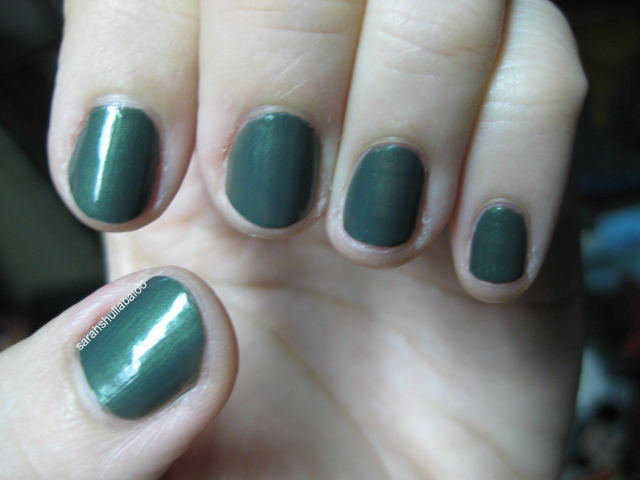
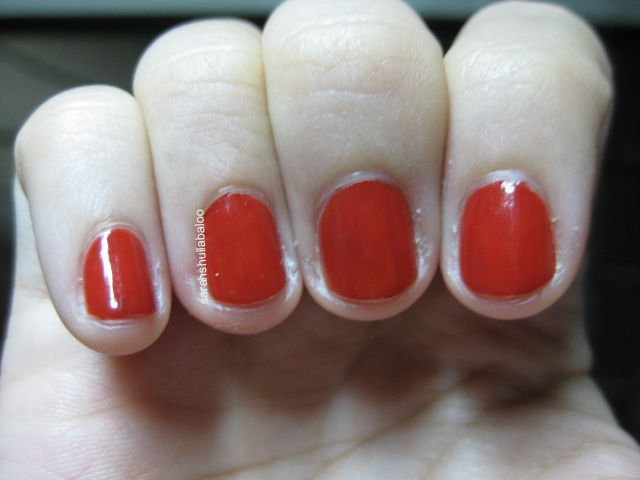
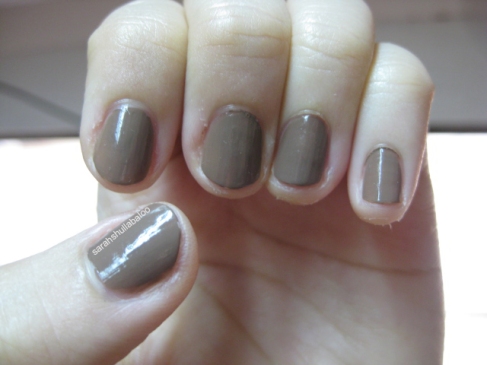
For the sophisticated socialite, there’s Rogue, your basic red in a not-so-usual elegant shade. For those that want to get edgy this holiday season, try Moss -a deep-green shade with a hint of frost. Lastly, for the fashionable girl who wants her nails to match her ever-changing party outfits, Taupe (THIS IS MY PERSONAL FAVORITE!) is a great nude shade to complement this season’s hottest colors and trends. (source: Caronia Philippines)

Caronia Miss Mystic Collection

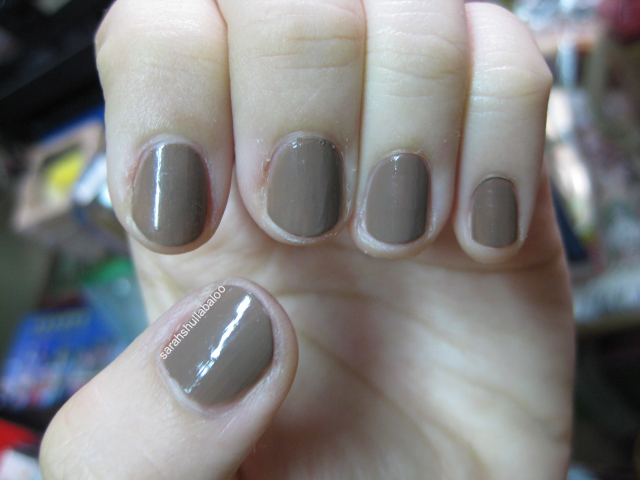
I was never a fan of brownish nail polish that’s why the result of Taupe really surprised me! When it’s just in a bottle, it is not that attractive, but when you start applying it on your nails… Love at first sight! It compliments fair skinned women. See? It has a classic vibe into it! Makes your nails look clean too. Hence, I’m now a fan of brownish nail polish! 🙂 I love it!

Caronia Miss Mystic Collection

You can never tell that a color is good until you tried it on your nails.

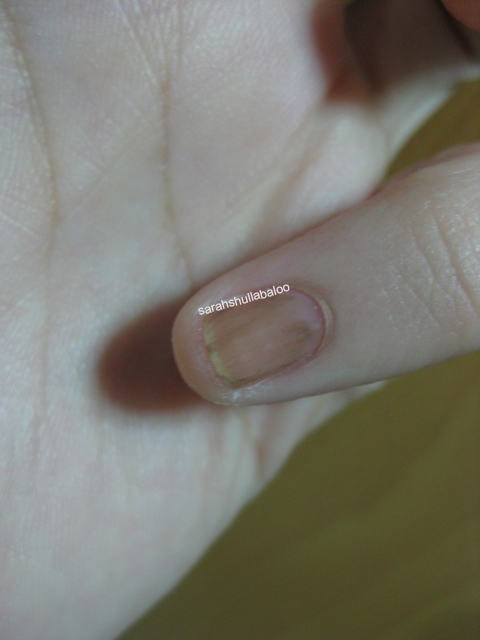
On the other hand, I advise you to shake the bottle well before applying it. If you don’t, you’ll get this result. You don’t want to have that don’t you? So shake shake shake!!

Caronia Miss Mystic Collection

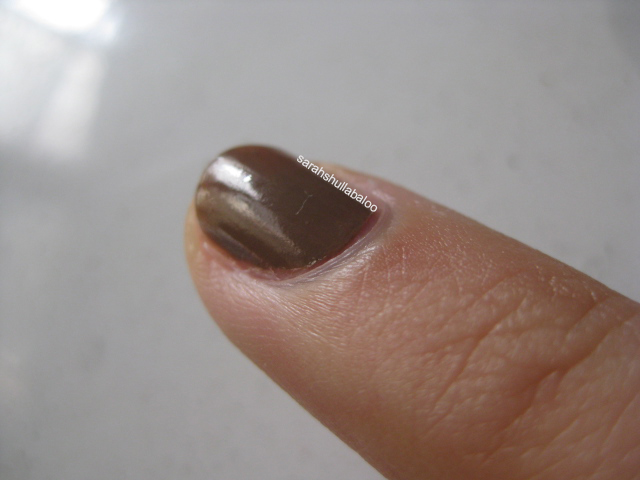
The nail polish dries about 15-20 minutes, so hands off to household chores first! 🙂 PATIENCE IS A MUST! (Two coats will do)

Lastly, you don’t need to apply a topcoat since the polish itself is glossy. Great huh?

Caronia Miss Mystic Collection

But if you want to protect your nails, top it off with Caronia Fast-Dry Top Coat.

You could also try the Moss, which has a metallic tinge into it.

Caronia Miss Mystic Collection

Lastly, another must try is the Rouge. You could match it with Moss to have a Christmas vibe. (sorry for the dry skin)

Caronia Miss Mystic Collection

Who wouldn’t love them right?

The Mystic Collection is available in leading supermarkets, department stores and drug stores nationwide!

CLICK HERE to see my Christmas Nail art using the Miss mystic collection. Another Christmas inspired nail art before the year ends. 🙂

THANK YOU CARONIA PHILIPPINES! 🙂
Tutorial: Gingerbread Man Nail Art

Just a few more hours ’til Christmas! At this time, everyone’s busy cooking/buying their favorite Christmas food for Noche Buena (in the Philippines)! And speaking of food, one that reminds me of Christmas is the Gingerbread man! Since it’s not common here, let’s put it on our nails! 🙂
Image

(Image source: http://www.lindaslearninglinks.com/gingerbreadmansites.html)

I chose the Gingerbread man design since Caronia Philippines gave me samples of their Holiday collection, which I will be reviewing soon. Thank you so much for your generosity.

LET’S START!

What you need:

1. Nail Polish (White, Green, Brown/Taupe/Nude, Red, Creme)

Caronia Miss Mystic

2. Dotting tool/Toothpick

3. Cotton Buds

4. Acetone/Nail Polish remover

5. Christmas songs! 🙂
Steps:

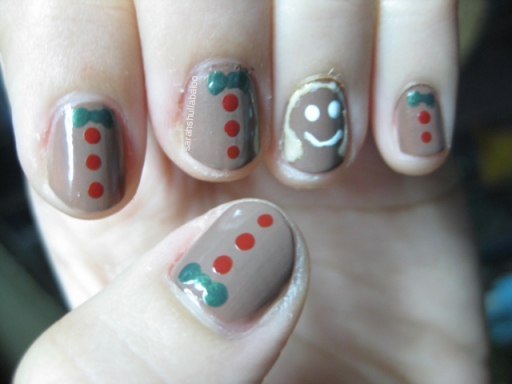
1. Apply your base coat. I used Caronia in Taupe. Two coats will do. LET IT DRY.

Caronia in Taupe

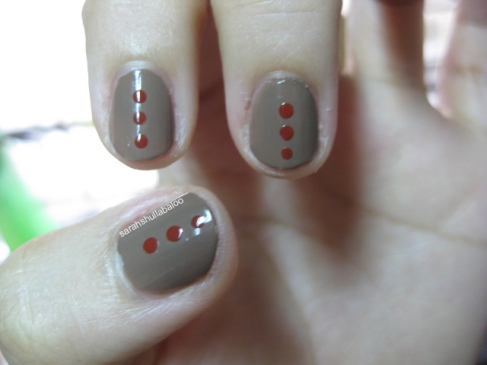
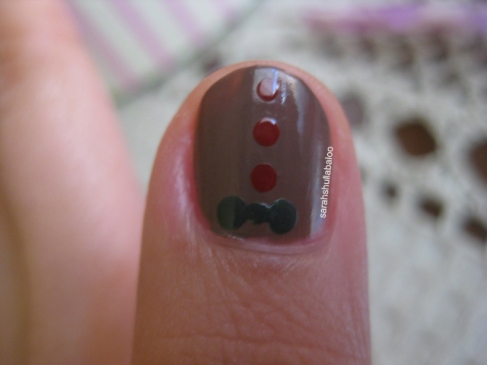
2. With your dotting tool/toothpick, apply red (Caronia in Rouge) dots vertically. This will serve as the Gingerbread man’s buttons.

Image

3. To make a ribbon, use your dotting tool/toothpick as well. Apply two green (Caronia in Moss) dots vertically on the upper portion of the nail, leaving a small space in between them. Apply a smaller dot on the space.

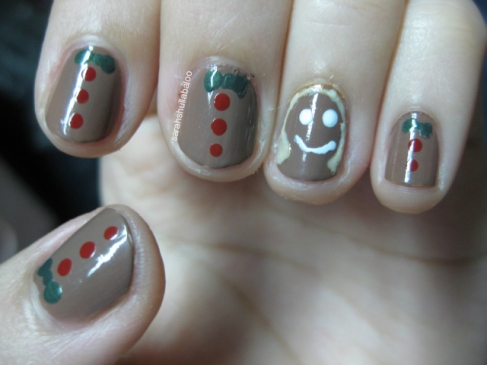
Christmas Nail Art4. Apply steps 2 and 3 on your pinky, middle, index and thumb. Leave your pinky finger because we’ll be making the Gingerbread man’s face there. 🙂
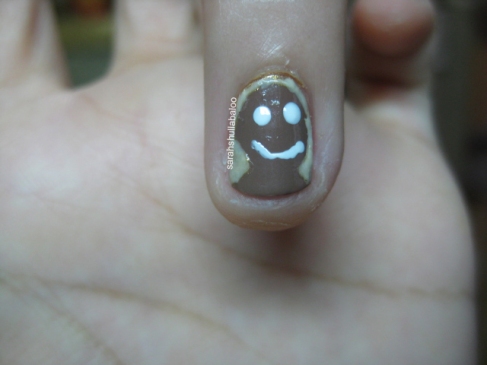
5. Make a smiley using you white nail polish and your dotting tool on your pinky finger.

6. With your Creme nail polish, (Caronia in Joy) make an outline using a toothpick/dotting tool. This will highlight the head part. (Sorry for the gold tinge on my cuticle part. I originally used that color for the outline and it didn’t work.)

Gingerbread man Nail Art

7. Top coat if you want to protect your design.

8. Voilà! A yummy nail art for the Christmas season!

Gingerbread man Nail Art

Gingerbread man Nail Art

I hope you liked my tutorial and design. Feel free to share your thoughts about nail art! 🙂

THANK YOU!!

Merry Christmas! God loves you!

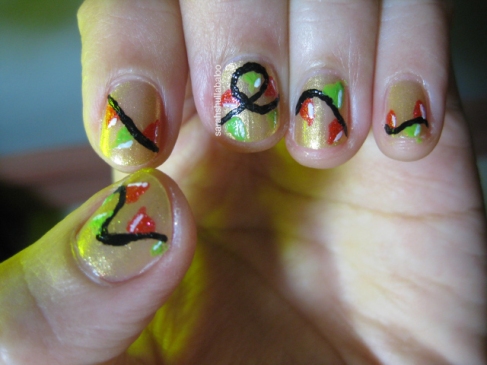
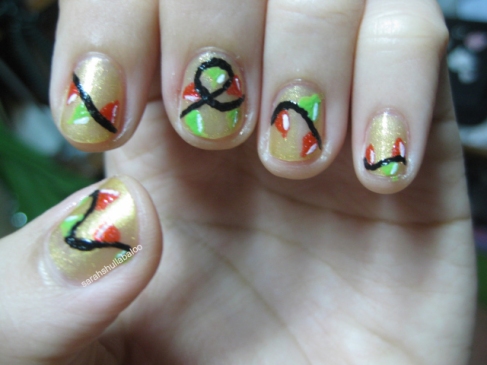
Tutorial: Christmas Lights Nail Art

A few days ago, I went to Ayala Triangle Makati to witness the Musical Christmas light show. Hence, it inspired me to look for a Christmas lights nail art.

img_3428

Photo from:  Adventures Of A Lady Explorer

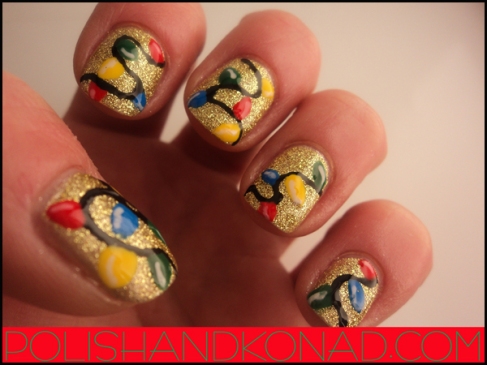
I chose this design by Polish and Konad since I bought a gold nail polish last week. Thank you for inspiring me. 🙂

ImageIn this tutorial, I used two nail art tools which were new to me. It’s my first time to use a nail art brush and an acrylic paint! So.. yey congratulations! If you’re ready, let’s start! 🙂

WHAT YOU NEED:

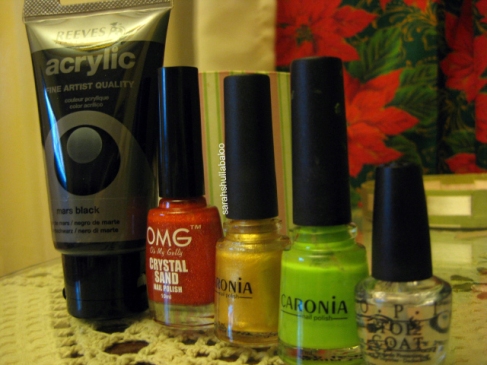
1. Glittery/Red/Green/White Nail Polish

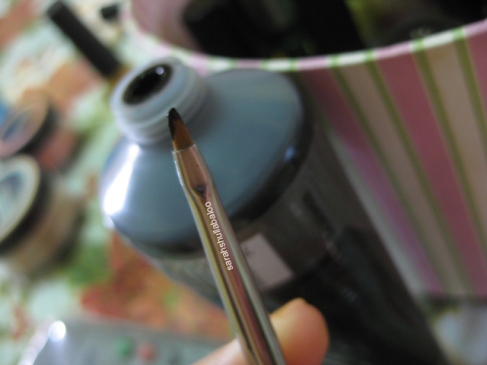
2. Black acrylic paint

3. FIne nail art brush

4. Top Coat

5. Patience

6. Motor skills! 🙂

Nail Art materials for Christmas Nail Art

STEPS:

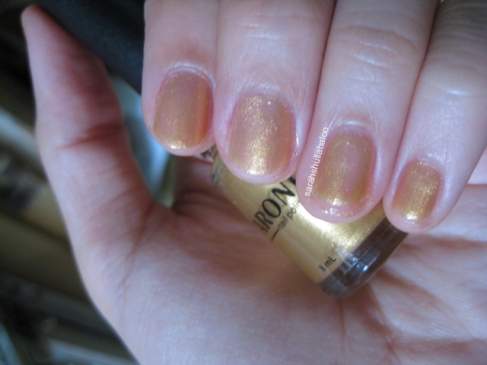
1. Apply your base coat with your Glittery nail polish. Two coats would do. LET IT DRY.

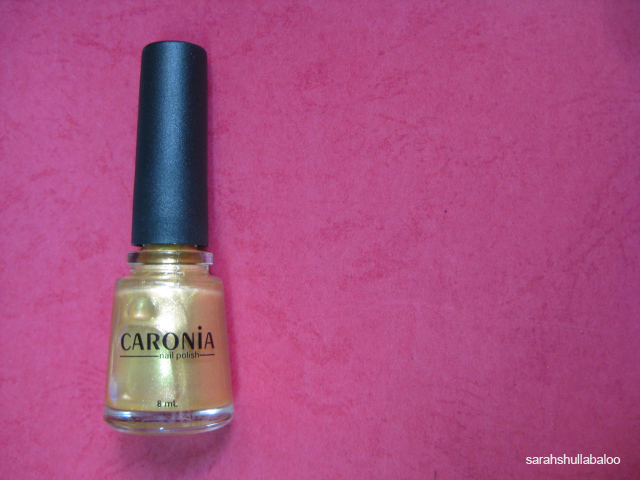
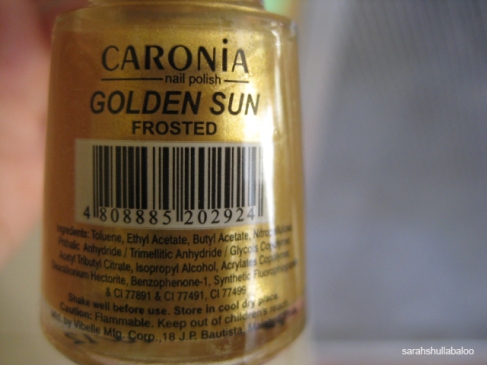
Caronia in Golden Sun

Caronia in Golden Sun

2. Using your fine nail art brush, dip the tip into your black acrylic paint.

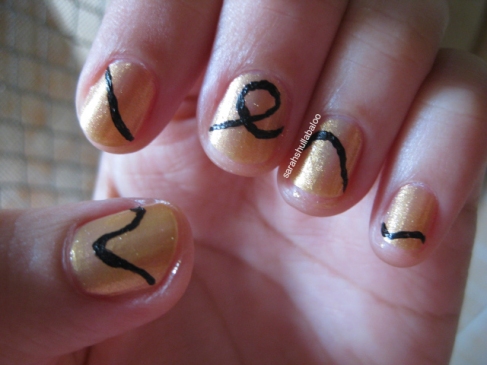
Black acrylic paint for nails3. Draw lines. You could do wavy, diagonal or even straight lines. It’s better if you make them look connected to each other. This will serve as the wire of your Christmas lights. (BTW, my lines are too thick.)

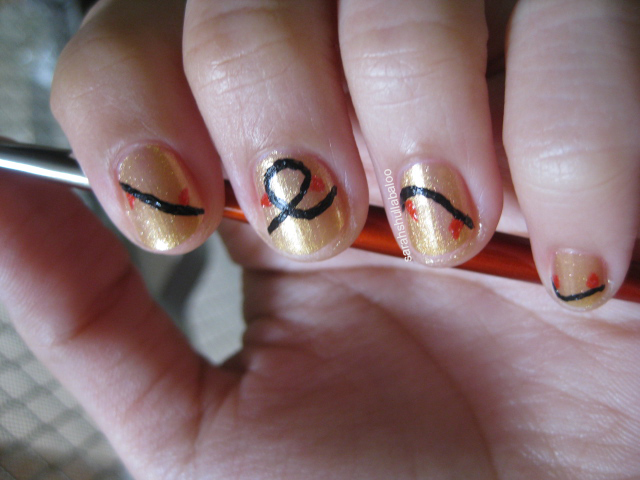
Christmas lights nail art4. With the same kind of nail art brush (fine), dip it into your red nail polish. Make a circle and add a pointy part that would resemble a bulb.

Christmas lights nail art

OMG crystal sand nail polish in citrine

5. Do the same with your green nail polish (you could use orange/yellow/blue too!).

Christmas lights nail art

Caronia in Kiwi

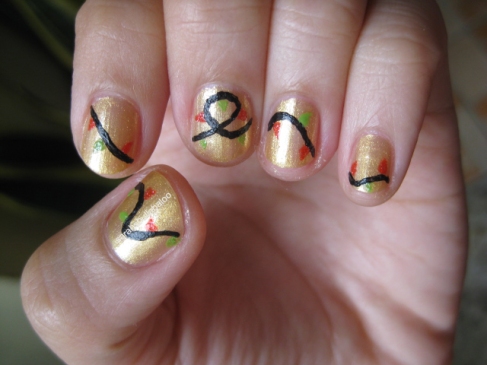
6. Using your brush and a white anil polish, add small lines to the sides of your christmas lights to make it more realistic!

Christmas lights nail art

7. Top coat. TADA! And you’re done!

Christmas lights nail art

What do you guys think? Comments/suggestions are most welcome!

(I still need practice in using my nail art brushes! Agree?)

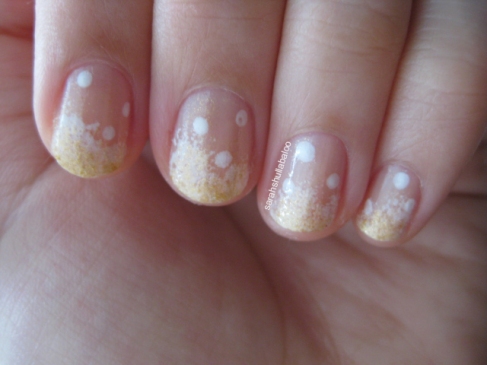
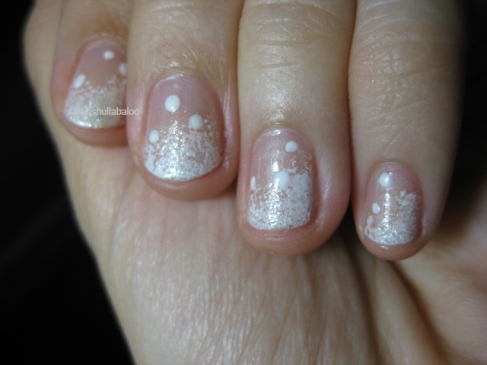
Modified Let it Snow Nail Art

Have you read my Let it Snow Nail Art tutorial? If yes, let’s try modifying it by simply adding another nail color! If no, CLICK HERE to see my post about that.

Caronia Golden Sun

Caronia Golden Sun

I am talking about this ‘addition’ to my Let it Snow Nail Art! Caronia in Golden Sun caught my eye while I was in Landmark Makati. I just felt the Christmas Vibe when I saw it. Weird huh?

Caronia is one of the popular brands and also the pioneer in the nail care industry here in the Philippines. What’s also interesting is that their products are very AFFORDABLE! I just bought this Nail Polish for only 27Php = 0.66USD. Cheap huh?

TADA! I added a touch of Gold to make it more alive!

Let it Snow Nail Art

(Caronia in Joy for the base, White Satin for the snow and Golden Sun)

What do you think? Thoughts?

Image

Which is better?

Comments/Suggestions are always welcome! 🙂

Caronia’s Facebook Account

Dotting Tool Substitute

Yes, you read it right! There are substitutes available in your own home! You don’t need to buy a dotting tool right away, especially when you’re still a beginner (like me!).

In this post, I will be comparing and contrasting three dotting tool substitutes that you can use  on you nail art.


If you’re game, let’s start!

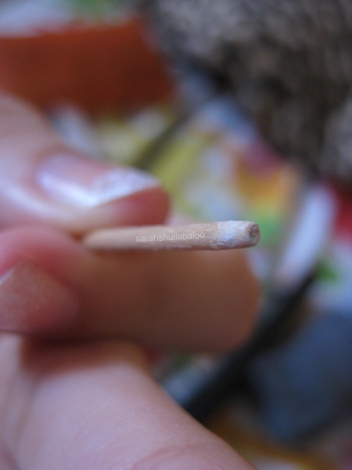
1. Toothpick

Image

If you’ve been reading my nail art tutorials, you’ll notice that I use toothpicks a lot. From drawing lines to making dots, that toothpick can do the work! So don’t underestimate that tool. 😉 It is most convenient if you cut the pointy tip. This will make your dot flatter, just like what I did on my Let it Snow Nail Art . Thus, faster for the dots to dry.

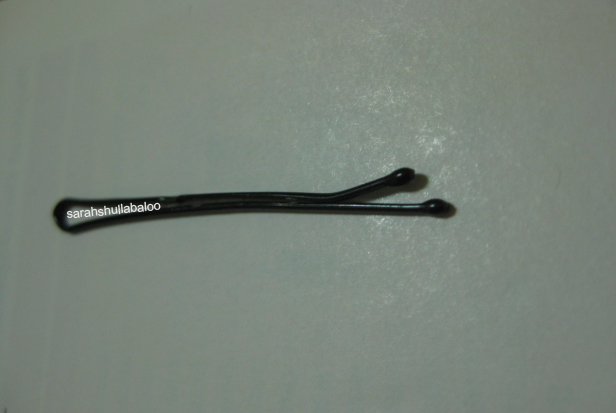
2. Hair Pin/Bobby Pin

Image

For most girls, this is more accessible and it’s hassle free since you don’t need to cut the tip since it’s round enough.

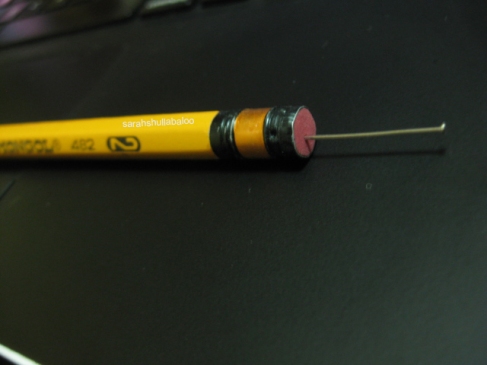
3. Sewing pin

Image

For our safety and convenience, stick it into an eraser.

Now let’s try using them!

Image

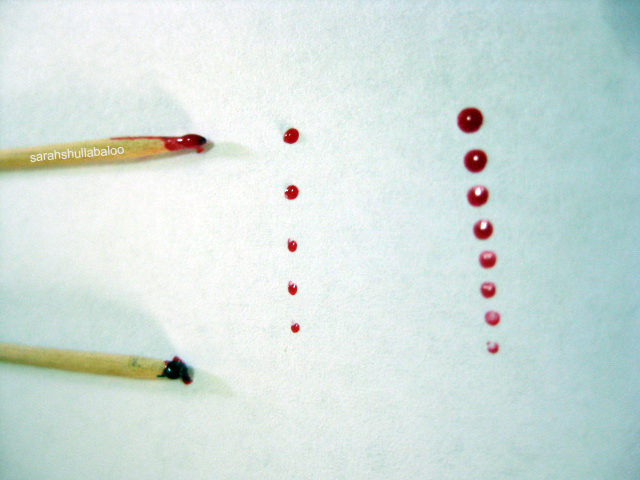
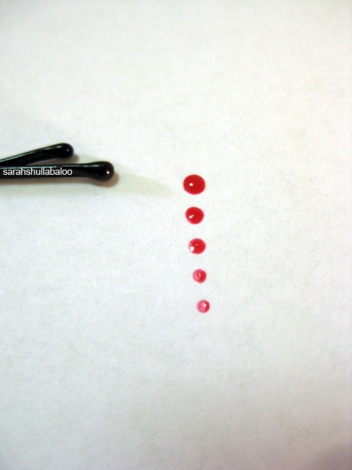
1. Toothpick

Toothpick as Nail Art Tool

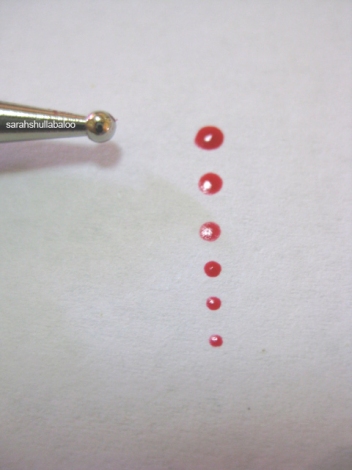
This tool is handy and can give you a satisfactory outcome, especially if you cut the pointy part (right side sample). If the toothpick isn’t cut, it will give you smaller dots (left side sample).

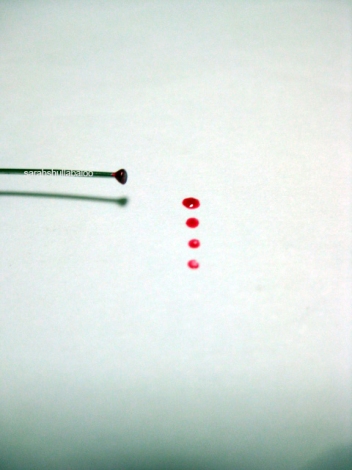
2. Hair/Bobby Pin

Hair Pin as Nail Art Tool

More similar outcome with the dotting tool and it’s handy too!

3. Sewing Pin

Sewing Pin as Nail Art Tool

In this tool, you need to dip it on your nail polish every now and then. Not very convenient for me.

4. Dotting Tool

Image

 What do you guys think? Similar outcome right? Try it for yourselves! 🙂

(Pardon me, it’s my first time to use a dotting tool)

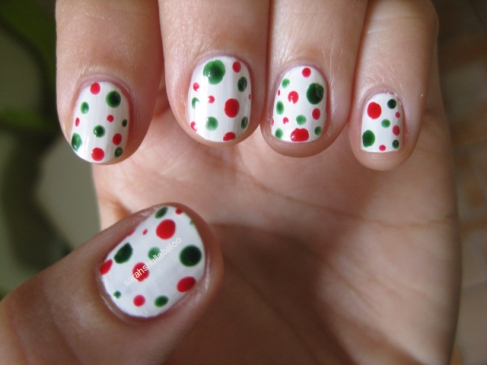
Christmas Dots Nail Art

(OPI for the white base and Caress in Neon Red and Green Minded for the dots)

Now you could do your own Christmas dots Nail Art! 🙂

Suggestions/Comments are most welcome! Thank you!